These past few weeks have been busy so I’ve been quiet. But behind the scenes I’ve been breaking finger nails, slicing open fingertips and experiencing all those little wounds that make me feel as though I’ve truly worked. There have been lots of little commissioned sewing and knitting projects. Lots of clothing production in the design studio for work. And lots of trial and error in the metalsmithing studio to keep me on my toes.
You guys. Working with metal is so much fun.
It’s this really powerful thing that we have the power to do — make metal yield to our desires. It’s not all easy or fun and games, but with the right tools it’s really amazing what heat and pressure can do. Of course, I’m still learning and doing some things wrong, but it’s all coming together nicely and I’m being patient, taking lessons in stride and not dreaming bigger than my abilities right now.
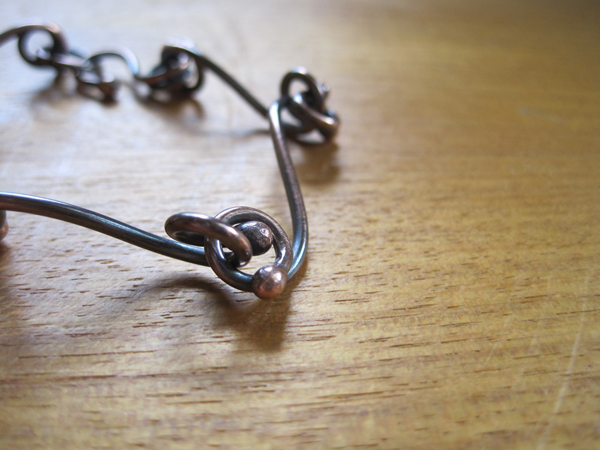
After working on the sterling silver rings in week one, we moved on to more affordable metals and have been playing with copper and brass for the last two weeks. Last week we made a copper bracelet. When heated, metal tends to pool and become round (my apologies for lacking the appropriate scientific terms) and so we took this bit of science and used it to create decorative balls at the end of 14 gauge copper wire, then gently curled our pieces around one another to create a bracelet. We then oxidized, buffed and tumbled our pieces to work harden them. It’s not necessarily my style, but just knowing the effort behind each part of the process, I now have a new appreciation of all jewelry.
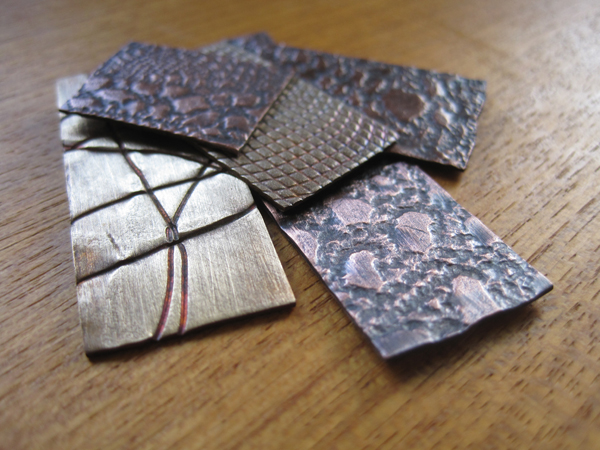
Today we made jump rings, cut, filed, annealed, pounded, sanded and rolled pieces of metal through the mill in preparation for the last two projects for class. The rolling mill is a fabulous tool for achieving textures. After softening the metal through the process of annealing, soft textures can be imprinted onto the metal. I used thread and lace. Even when working with metal I can’t seem to get away from my love of soft textiles, and I find the combination of the two textures so appealing.
Once through the rolling mill, putting pieces in liver of sulfur helps the metal oxidize and develop a patina, which helps each texture become more visible. Next week this motley assortment of textured metals will be graced with a cabochon and rivets to help round out metalsmithing 101.
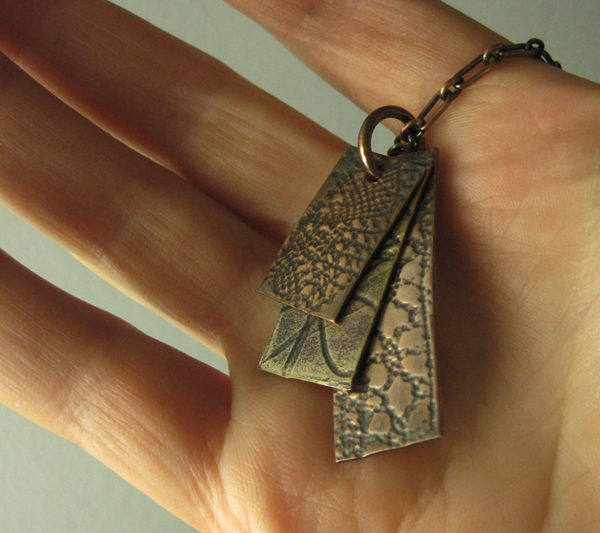
Even though I told myself I wouldn’t get ahead of myself, in between projects this week I was able to sneak in a necklace for my mother-in-law, just in time for her 70th birthday. It may not be the fanciest jewelry ever, but I cut myself making it and that’s got to count for something.


Leave a Reply